Mobile Developer Console
Introduction
Mobile Developer Console is part of AeroGear Mobile Services and allows you to:
-
create a representation of your mobile application in OpenShift
-
bind Mobile App with mobile services
-
build your mobile app (requires Mobile CI/CD service)
-
get the
mobile-services.jsonconfiguration file for use in your local development environment
Provisioning Mobile Developer Console
To provision the Mobile Developer Console:
-
Log into the OpenShift console.
-
Create a new project or choose an existing project.
-
Select Catalog from the left hand menu.
You can filter the catalog items to only show mobile specific items by selecting the Mobile tab. -
Choose the Mobile Developer Console service.
-
Follow the wizard for provisioning that service.
If prompted to Create a Binding, choose Do not bind at this time.
Once the wizard steps are completed, navigate to the Project Overview in OpenShift to see the newly provisioned service. Provisioning the Mobile Developer Console may take some time.
Registering a Mobile App
After provisioning Mobile Developer Console, the next step is to register the Mobile App that you are going to develop.
To create a Mobile App:
-
Log into the OpenShift console.
-
Choose project where you have previously deployed Mobile Developer Console.
-
Open Mobile Developer Console by clicking on its route in the Overview screen.
-
Log into the Mobile Developer Console.
-
Click on
Create Mobile Appbutton. -
Enter a name for your Mobile App.
-
Click
Createbutton.
Using mobile services
Viewing mobile services
In order to use services with a mobile app, the Mobile App associated with the app must be bound to the appropriate services. To show the list of services, navigate to the application Overview screen and to the Mobile Services tab. A list of bound and available services is displayed.
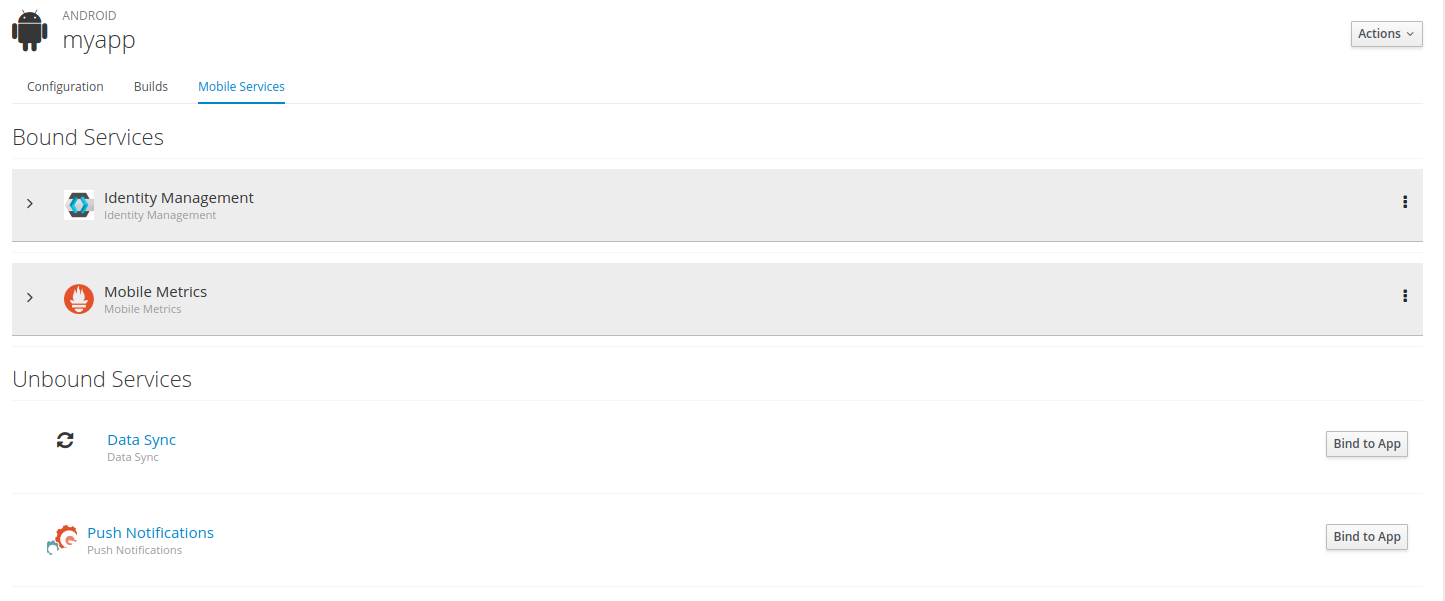
| Some services might support multiple binding and in that case a Bind to App button is also shown in a Bound Services row. |
Binding mobile services
The Mobile Services tab in the Mobile App view shows the provisioned services that are available to be bound to the Mobile App. If a service has not yet been bound to a Mobile App, a binding can be created by selecting the Bind to App button.
You can bind your Mobile App to a service by :
-
Click Bind to App (example image shows a Push Service binding).
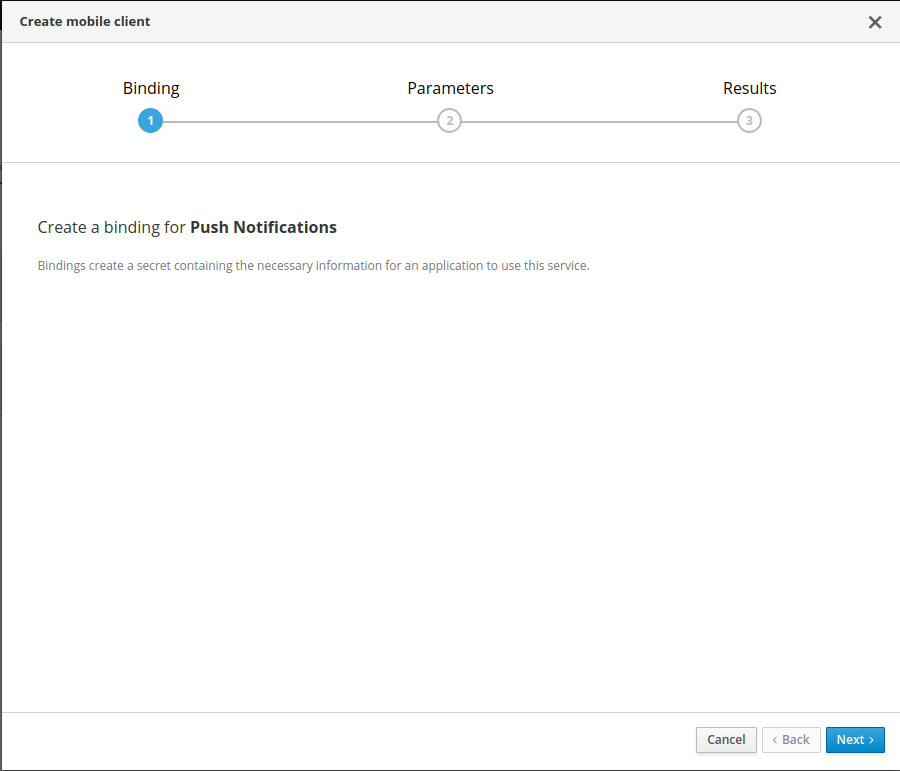
-
Fill in configuration details for the binding (example image shows a Push Service binding).
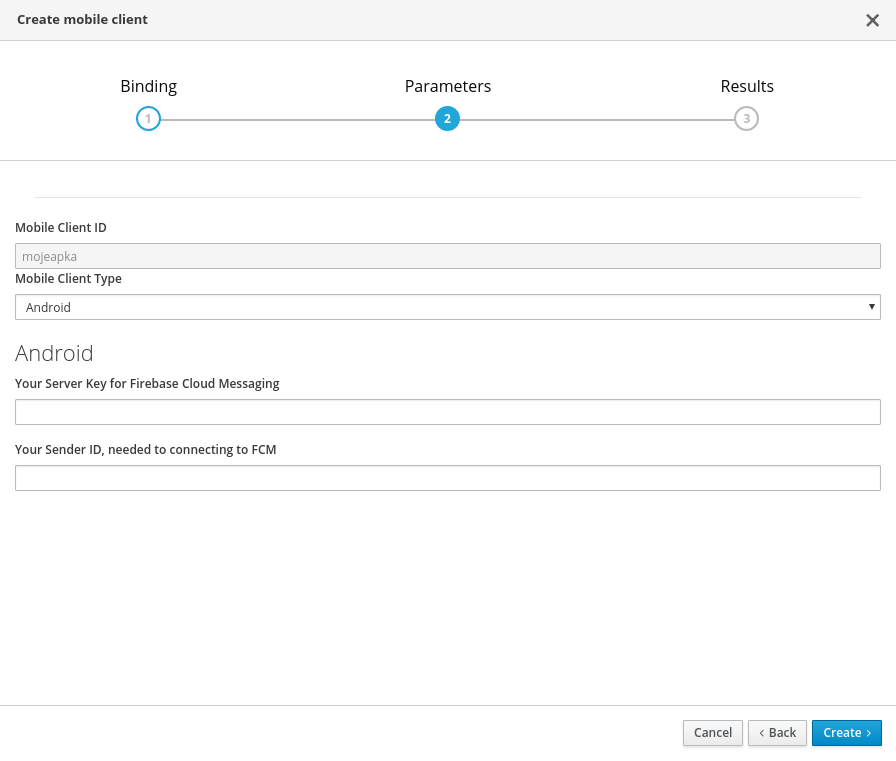
-
Press Create to create the binding (example image shows a Push Service binding).
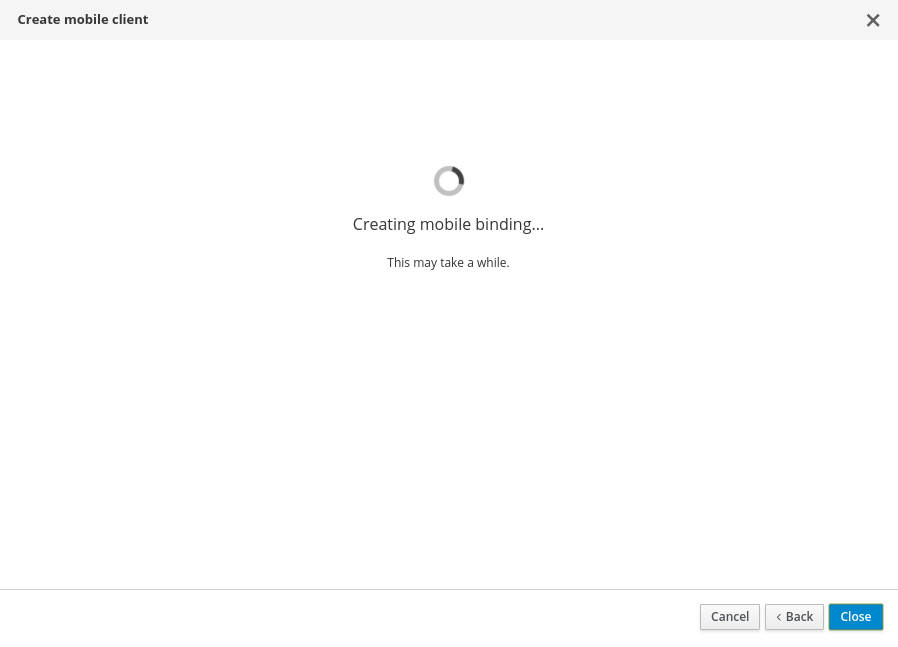
| You can safely close the dialog, the process continues in the background. |
After the binding is complete, the JSON in the Configuration tab is automatically updated.
Putting this JSON into the mobile-services.json file for your mobile app enables your app to communicate with bound mobile services.
Typically, you create only one binding per service but in some cases it is possible to create multiple bindings. In this case, a Bind to App button is displayed for an already bound service.

To remove the binding press the  button and select Delete.
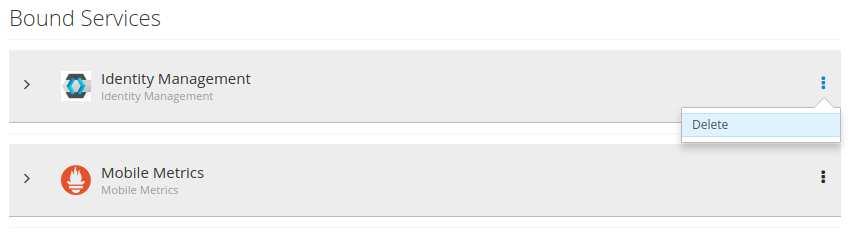
If there are multiple bindings for the service there will be more options for the deletion.

Building Mobile Apps
The Builds tab in the Mobile App view allows you to view the previous builds of the app, and triggers a new build of the app.
Provisoning a Mobile CI/CD Service
In order to build the Mobile App app, you first need to provision a Mobile CI/CD service. If the service is not provisioned, use the link provided on the screen to browse all the available mobile services and provision a new Mobile CI/CD service.

For more details about how to provision the Mobile CI/CD service, please see Mobile CI/CD service guide.
Creating a Build
After the Mobile CI/CD service is provisioned, you need to create a new build config for the Mobile App. You need to provide more information about the mobile app here depending on the platform. For example, the repo of the source code, the type of the build, the keys used to sign the app, etc.
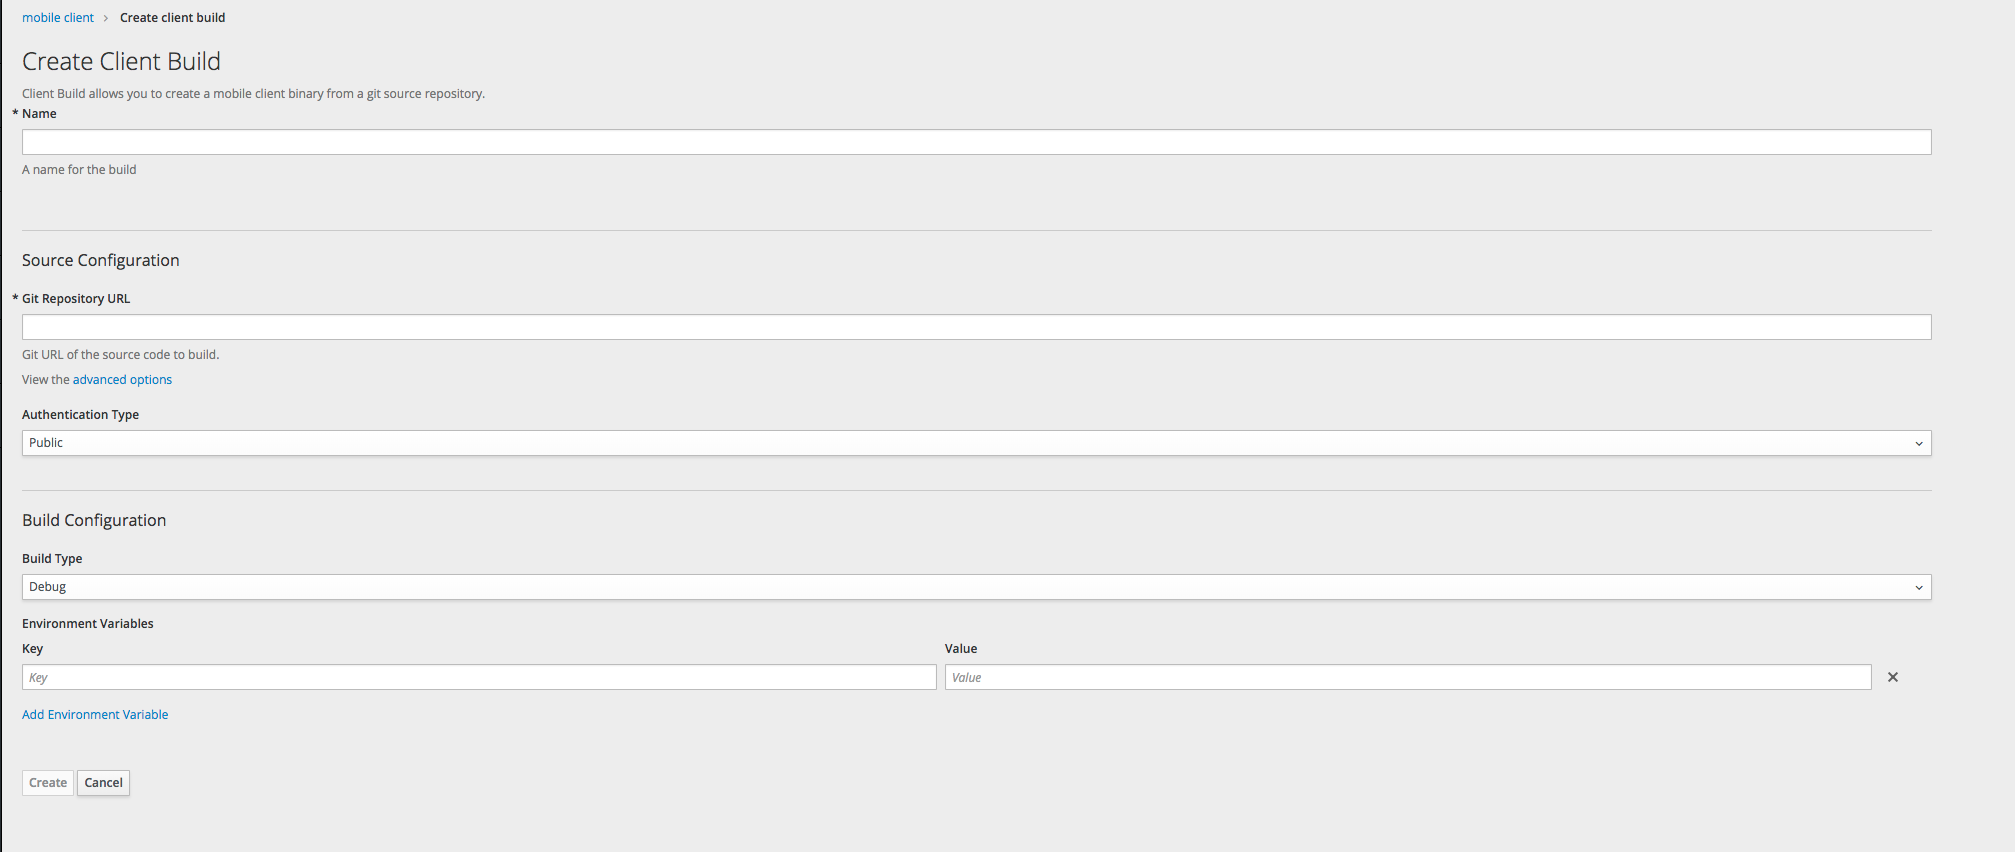
For more information about how to configure the build config, please see the build config section of Mobile CI/CD.
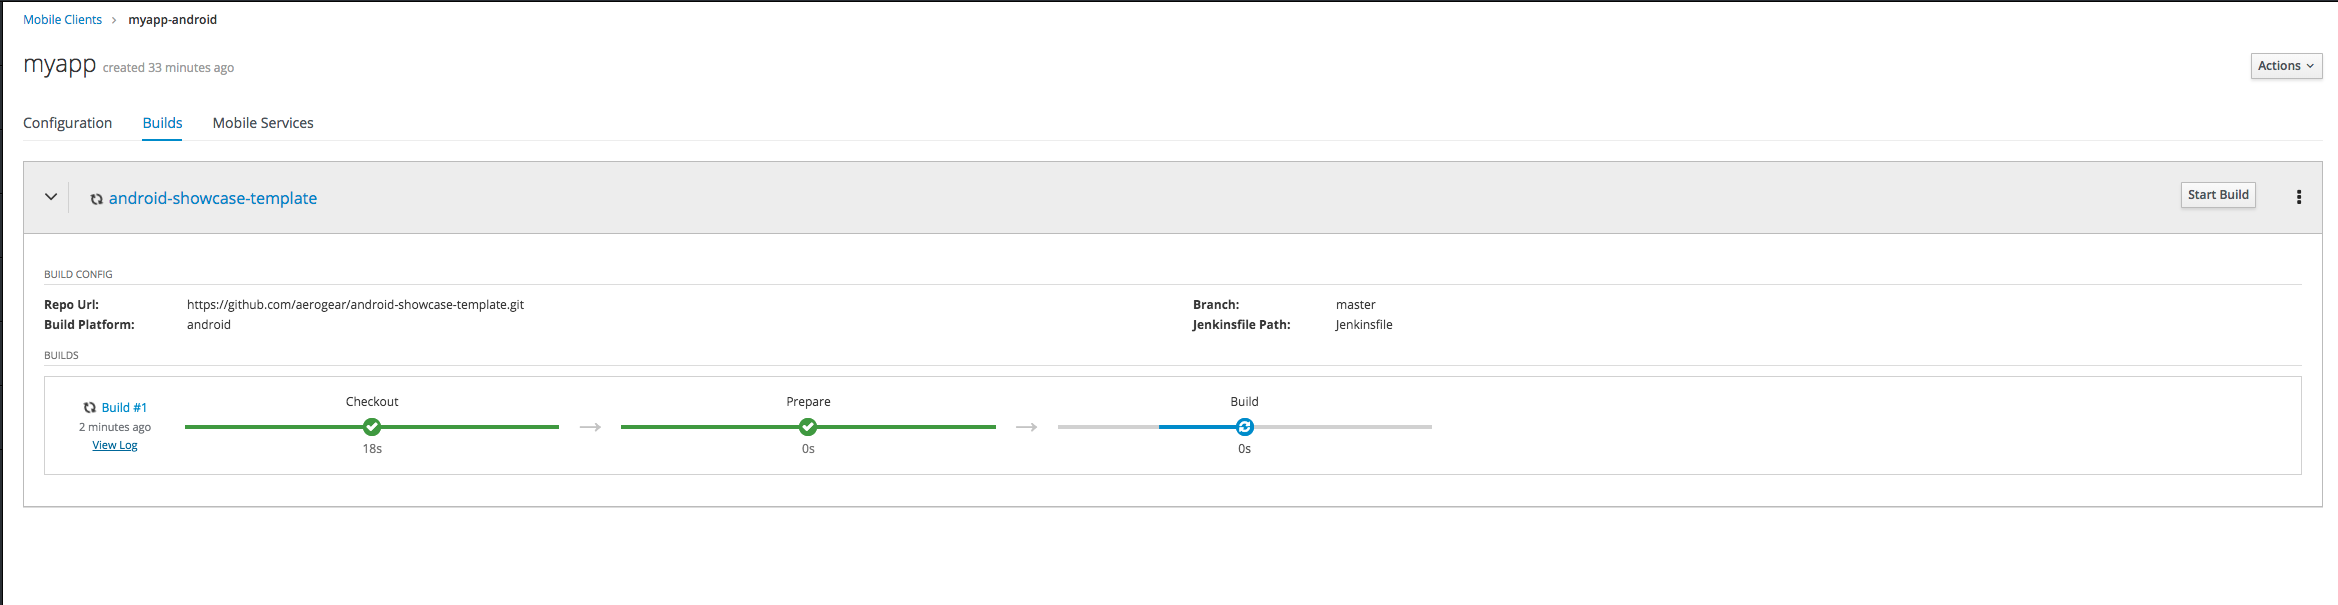
Starting a Build
Once a build is configured, you can start a new build. You will be able to view the progress of the build from the OpenShift UI and access the full build log.
Downloading and Installing Apps
You can use the OpenShift UI to deploy a mobile app by downloading the binary directly to the mobile device. This binary can be downloaded for any successful build in the build history.
Once the build has completed you can then press the Download button and you will be presented with a QR code. Applications to scan QR codes are available in Google Play for Android or the App Store for iPhone. Once the QR code has been scanned, it will open the download URL in the device and the application will download.

If you do not have a QR code scanner you can also download the artifact from the URL in the OpenShift web console. Once downloaded connect a device to your local machine.
-
For iOS applications open XCode and navigate to Window > Devices and Simulators. Here you can install your mobile application by pressing
+button at the bottom, then choose your download IPA file for installation. -
For Android applications move the APK file into the device directory. On your device locate and select the APK file and select install.
You may need to enable the installation of apps from unknown sources on Android devices before installing from an APK.
Introduction to the AeroGear SDK
After you have registered a Mobile App, bound the Mobile App to a mobile service, and downloaded the mobile services configuration file, you can start developing your mobile app using mobile services.
The AeroGear SDK supports the following mobile platforms:
For information about how to develop Android apps, see Android Documentation.
-
To use the SDK add jcenter to the
build.gradefile in your project’s root directoryallprojects { repositories { jcenter() // <-- Add This line google() } } -
In the build.gradle file of your app you can begin adding dependencies provided by the SDK.
dependencies { ... implementation 'org.aerogear:android-core:1.0.0' implementation 'org.aerogear:android-push:1.0.0' implementation 'org.aerogear:android-auth:1.0.0' implementation 'org.aerogear:android-security:1.0.0' } -
For push you also need to add a dependency to the Firebase SDK:
dependencies {
    ...
    implementation "com.google.firebase:firebase-messaging:[version]"
}
| To implement certificate pinning in the individual SDKs, see Certificate Pinning in Android Devices. |
For Service specific steps, see:
For information about how to develop iOS apps, see iOS Documentation.
-
In your project directory (the directory where your
.xcodeprojfile is), create a plain text file namedPodfile(without any file extension) and add the lines below. ReplaceYourTargetwith your actual target name.source 'https://github.com/CocoaPods/Specs.git' platform :ios, '9.0' use_frameworks! target :'YourTarget' do ## Require one of the AeroGear SDK's here pod 'AGSCore', '1.0.0' pod 'AGSPush', '1.0.0' pod 'AGSAuth', '1.0.0' pod 'AGSSecurity', '1.0.0' end -
Then run the following command:
$ pod install -
Open up
.xcworkspacewith Xcode and start using the SDK.Do not use .xcodeproj. If you open a project file instead of a workspace, dependencies will not be correctly configured. -
Import the SDK you want to use in the application. For example:
import AGSAuth
For Service specific steps, see:
For information about how to develop apps using Cordova, see Cordova Documentation.
-
Open a terminal and navigate to your appplication project root folder.
-
Install the AeroGear SDK base project:
npm install @aerogear/app -
In your application, import and call the "init" method:
import { init } from "@aerogear/app";

const aerogearConfig = {
    // Replace with your own configuration
};

const app = init(aerogearConfig);
For Service specific steps, see:
For information about how to develop apps using Xamarin see Xamarin Documentation.
-
In your VisualStudio project expand
Dependencies > NuGet -
Click on
Add packages… -
Select
AeroGear.Mobile.Coreand depending on your target platforms: -
for Android:
-
also pick
AeroGear.Mobile.Core.Platform.Android -
Initialize Core (for Xamarin.Forms):
var app = new App(); MobileCoreAndroid.Init(app.GetType().Assembly,ApplicationContext); LoadApplication(app); -
Initialize Core (for Legacy Xamarin):
MobileCoreAndroid.Init(ApplicationContext);
-
-
for iOS:
-
also pick
AeroGear.Mobile.Core.Platform.iOS -
Initialize Core (for Xamarin.Forms):
var app = new App(); MobileCoreIOS.Init(app.GetType().Assembly); LoadApplication(app); -
Initialize Core (for Legacy Xamarin):
MobileCoreIOS.Init();
-
For Service specific steps, see:
API Reference Documentation
SDKs for our Mobile Services are available for a variety of platforms, including Android, iOS, Cordova & Xamarin. These SDKs will help simplify your mobile and modern application development needs, leveraging OpenShift’s Container technology to provide a secure, scalable backend platform.
Click on the ✔ to see the API reference documentation:
| Platform | Core | Identity Management | Push Notifications | Device Checks | Mobile Security | Data Sync Client |
|---|---|---|---|---|---|---|
Android |
||||||
iOS |
||||||
Cordova |
||||||
Xamarin |