Using the Mobile Security Service
-
You are running OpenShift with Mobile Services as described in Setting up AeroGear Mobile Services on OpenShift.
-
You have provisioned Mobile Developer Console as described in Provisioning Mobile Developer Console.
Setting Up the Mobile Security Service
Provisioning the Mobile Security Service
This section describes how to set up the Mobile Security Service.
-
You have logged into the OpenShift console and the Mobile Developer Console.
-
Log into the OpenShift console.
-
Create a new project or choose an existing project.
-
Click Add to Project and choose Browse Catalog from the options.
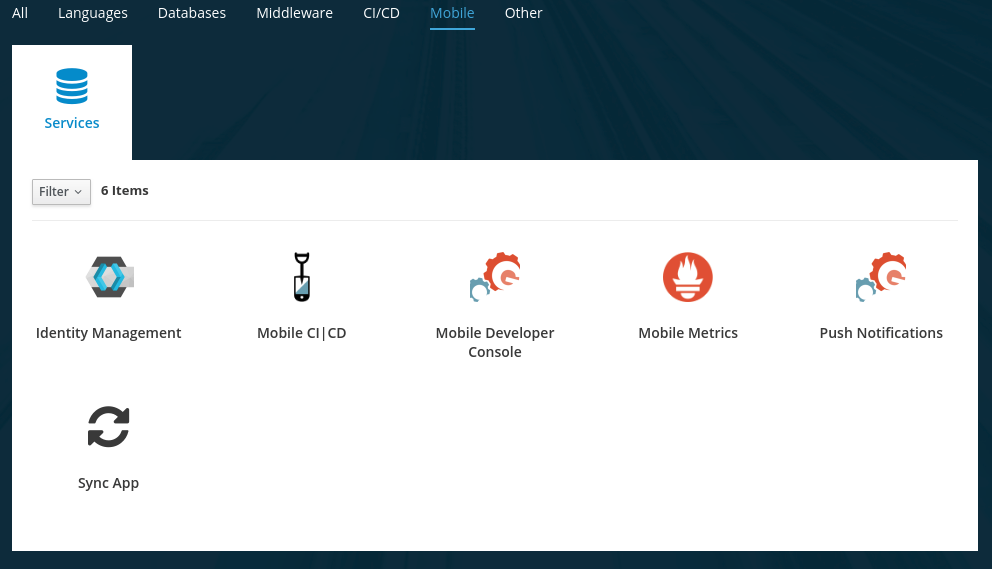
You can filter the catalog items to only show mobile specific items by clicking the Mobile tab.
-
Click Services and choose the Mobile Security service.
-
Follow the wizard for provisioning that service.
If prompted to Create a Binding, choose Do not bind at this time Once the wizard steps are completed, navigate to the Project Overview in OpenShift to see the newly provisioned service. Provisioning a service may take some time.
Binding a Mobile App with the Mobile Security Service
To use mobile services, you must represent your mobile app in Mobile Developer Console, and that app must be associated with the mobile service. This association is called binding and it is necessary for your mobile app to use that service.
This section describes how to set up the Mobile Security service.
-
You have created a Mobile App.
To bind a Mobile App with a mobile service:
-
Launch Mobile Developer Console.
-
Click on the Mobile App on the Overview screen.
-
Navigate to Mobile Services tab.
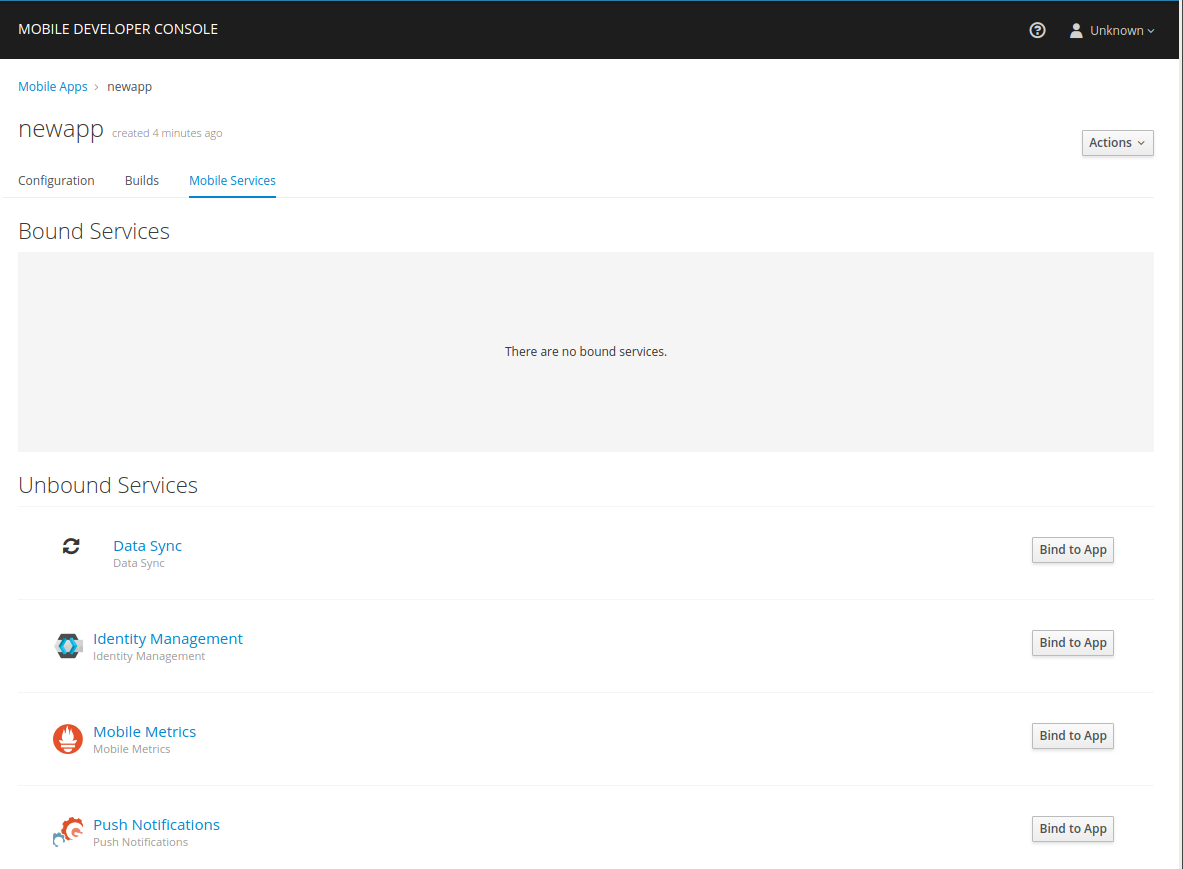
It is possible to bind a Mobile App with a mobile service in the OpenShift console, however such bindings are not valid for the purposes of this procedure. -
Click Bind to App for Mobile Security.
-
Fill out the binding parameters required by the Mobile Security Service.
The Mobile Security service will now be expandable, details about the service can be viewed.
Configuring your Development Environment for the Mobile Security Service
Downloading the Mobile Services Configuration File
-
Open your Mobile App in Mobile Developer Console.
-
Copy the
mobile-services.jsonconfiguration to your clipboard. -
Save the contents of the clipboard to a new file called
mobile-services.json.The mobile-services.json file is the link between your provisioned services on OpenShift and the mobile app you are developing. This file provides all required configuration to initialise the various SDKs and get them hooked up/connected to the back-end services. -
Follow the platform-specific instructions:
Setting up Mobile Security service SDK
Importing the libraries
-
Install the AeroGear Security package from NPM:
$ npm install @aerogear/security --save -
Add the AeroGear Security plugin for Cordova:
$ cordova plugin add @aerogear/cordova-plugin-aerogear-security -
Import and instantiate
SecurityServiceto start using the SDK:const SecurityService = require("@aerogear/security"); const appSecurity = new SecurityService.AppSecurity(app.config);Any new instantiation of SecurityServicereturns the same instance.
Implementing the Mobile Security service in your mobile app
Call the appSecurity clientInit function to implement the App Security Service. Call this service on application initialization, for example:
appSecurity.clientInit()
.then(clientInit => {
  /**
    You can use clientInit.data.disabled boolean
    to check if app has been disabled by admin.

    The disabled message is returned if the app is
    disabled at clientInit.data.disabledMessage
    This contains a string with a disabled message
    from the server set by the admin.
  */
}).catch(err  => {
  /**
    You can handle errors connecting to the
    mobile security service here. i.e. if the
    client is offline that error will be caught
    here and you can return a response at this
    point
    */
});
Managing mobile apps using the Mobile Security Console
To access the Mobile Security Console:
-
Retrieve the console URL from the list of available services in the Mobile Developer Console (MDC).
-
Open the URL in a browser.
The console is only available after the Mobile Security Service has been provisioned.
The Mobile Security Console allows you to monitor mobile apps, deployed versions, and disable versions of those mobile apps.
Opening the console lists all applications. Click on an application to view deployed versions of that mobile app.
A deployed version is registered with the Mobile Security service when a version of the app is released, for example, 1.2.3, and that version of the app is run on a device at least once.
Below is a detailed description of each of these views and the information you can expect each to contain.
This view provides statistics and information about each deployed version of an application:
-
App Version: The version of the application.
-
Current Installs: Total number of current installed versions of this version of the application.
-
Launches: Total number of launches of this version of the application.
-
Last launched: The last time this application version was launched.
-
Disable on Startup: Whether this application version is disabled on startup.
-
Custom Disable Message: A custom message that is displayed when this version of the mobile app is disabled.
Enabling and disabling mobile app versions
To enable/disable one or more versions of the application:
-
Toggle the checkbox for that version in the Disable on Startup column.
-
Confirm these changes by clicking the Save button to persist these changes.
Navigating away from this screen with unsaved changes prompts you to save or discard these changes.
To disable all versions of an application:
-
Click the Disable App button.
Adding or updating a custom disabled message
To add or update a custom message for the version(s) of an application:
-
Enter the message in the text field for that version under the Custom Disable Message column.
-
Confirm these changes by clicking the Save button to persist these changes.
Navigating away from this screen with unsaved changes prompts you to save or discard these changes.